Our Solar Powered Dream

Author: Aidan Ruff (Page 2 of 2)

The Almacen – or Garage

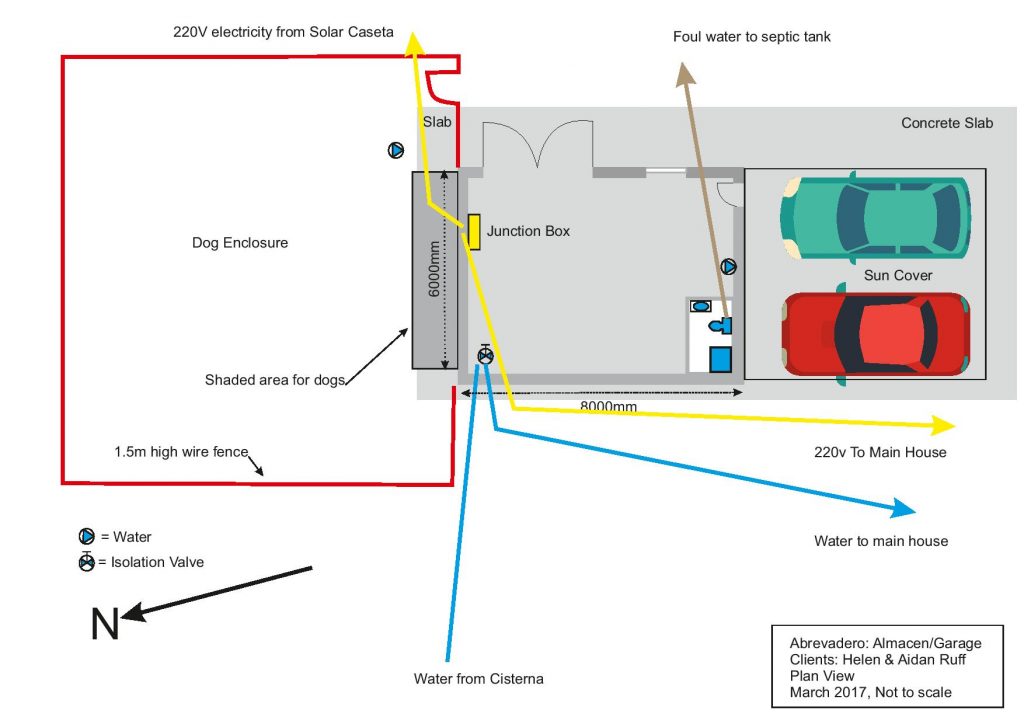
We decided that the first stage in developing and building the house would be to get all of the services in place. This means that we need to build the solar farm,  bring the water from about a mile and a half away and build a workshop/garage (almacen in Spanish).
The Almacen

The Almacen

If you have looked at my omegaman.net blog, you’ll know that I am a confirmed tinkerer and, as such, I just need a workshop. So, the plan this summer is to install the solar system, bring in the water, dig in a septic tank and build an alamcen. So, power and water in, poo and wee out!

The Great Plan indicates that we’ll be going down this summer to start laying out the foundations of the main house and to get to know the land a bit better. So, we could simply stay in a hotel or even rent a house, but where’s the fun in that?  The answer is staring us in the face, we’ll make the almacen habitable. Seemples?

You can see on the plan that there’s a shower and a loo in the corner of the almacen. Next to it is a tap which will probably end up being a simple kitchen sink with a table next to it to take a small 2-ring, electric cooker and a benchtop oven/microwave. Add in a barbeque and that’s pretty much all you need for a few weeks of summer living in the sun. Oh, and wine of  course.

Well, somewhere to sleep would also be nice. So, up in the roof of the alamcen will be a wooden mezzanine floor where we can put a bed.
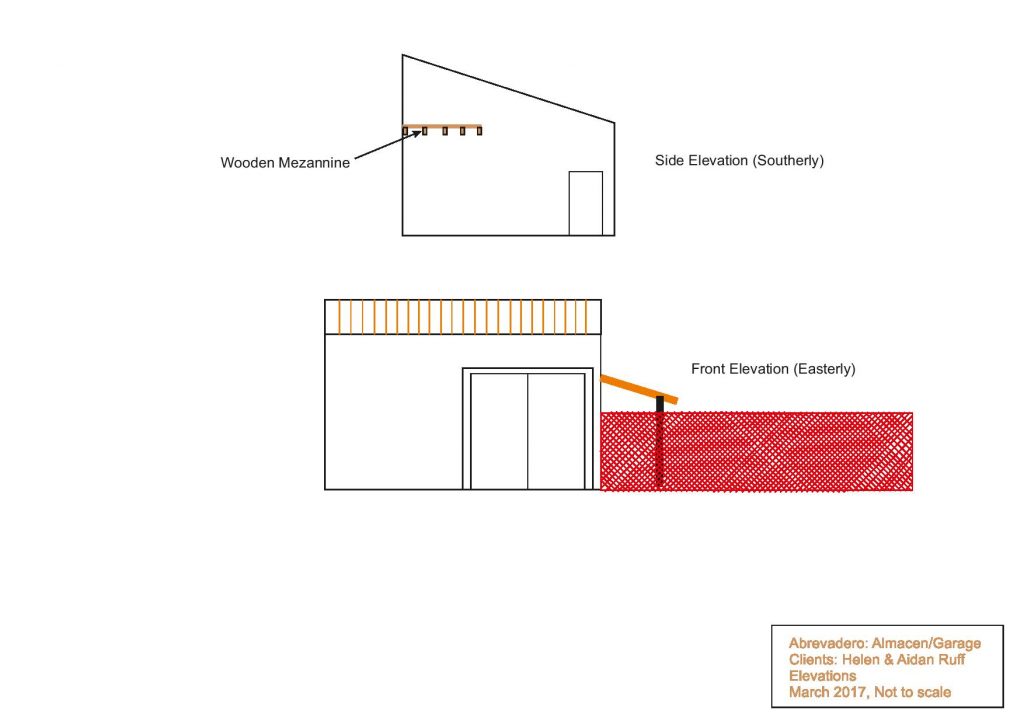
Almacen Side ElevationOf course, even in the mountains of Aragon (doesn’t that sound very Lord-Of-The-Rings-ish?) it gets a tad hot in the height of the summer, so I’ve found a great reversible aircon unit surplus on Ebay. It’s a variation on the type you used to see in the USA and the Far East, where it’s jammed into an open window and just plugged into a power socket.

It’s quite a meaty unit, intended for larger rooms and will also heat as well as cool, so when we’re there in the winter and I feel the need to build something, I’ll be able to heat the alamcen as well as cool it in the summer.
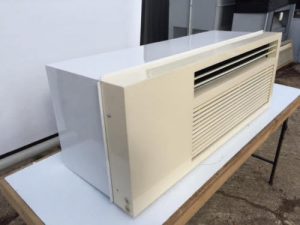
 

The power consumption is about 900W for 3.2KW of heating or cooling, so the solar and battery system should have no problems running it 24/7.

Our architect, Manel, is taking our ideas and translating them into something acceptable to the local council, or ayuntamento. The aparejador is doing the structural calculations at the moment so that we can do the submission. From what I gather,  “aparejador” means “rigger”. However, in the building context, I think that it means “structural engineer”. When we build in the UK, we also need to do the structural calculations to ensure that stuff doesn’t fall down and I guess that, despite some of the popular Holiday-Homes-From-Hell programs on TV, they do the same thing in Spain. Fingers crossed…

One final element is the dog pen. This means that we can take our eight dogs – six chiahuahuas called Bolly (the mum), Gizmo, Juju, Livvy, Casper and last, and very much the least, Coco. Travelling with us will also be our two wolfhounds, Otto and Bertie.

The dog pen will give us a bit of peace of mind when we go out, so that at least we know that the wolfhounds won’t be running off chasing wild ibex over the cliffs and that the little dogs won’t be taken by any of the local raptors. We’re thinking about investing in kevlar jackets for the chiahuahuas.

We’ve rented a house for a week in early May, after our local elections, but before the recently announced General Election in the UK. So, we’re going out to organise the building of the alamcen and catch up with some new friends that we’ve made who are about 9 months ahead of us in the construction process. I’m looking forwards to seeing how they are progressing.

We can’t wait!
 

Solar Panel Adjustment Arm

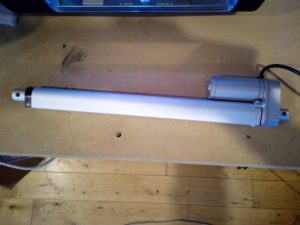
150Kg Linear Actuator

150Kg Linear Actuator

Linear Actuators

I received the first of the linear actuators that I want to use with my solar panels so that I can adjust them throught the day and the year to get the maximum amount of power from the available sun.

The actuator that I’m trying out first has 12 inches of movement and can push or pull up to 1500N or about 150Kg. Also, one of the reasons that I picked it is that it is – or at least claims to be – IP65 rated. This means that it’s meant to be resistant to dust and water sprayed onto it. It’s not submersible, but since we’re about 750m high, I think that lack of solar panel adjustment will be the least of our problems if we get a flood!

Over the next few days, I’m going to make a simple speed and directional controller. This will allow me to slowly accelarate the actuator and then reduce it’s speed gradually. This might seem to be a bit anal considering that the rate of movement is only about 5mm per second. However, when it’s under load and moving around 200 Kg of panels, I want to reduce any potential whiplash in the reduction gearing which you can hear whining in the video, as this will help to reduce wear and tear and, with a bit of luck and a tail wind, will increase the useful life of the actuator.

Here’s a video of it in action –


Solar Charger/Mains Inverter 

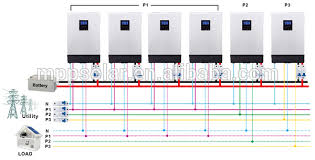
After a lot of research regarding solar chargers and mains inverters, I settled on the PIP4048MS from Mppsolar. This is a lovely device which can take up to 3KW of solar panels and will give up to 4KW of pure sine mains power at 230V.

The PIP4048MS

The PIP4048MS

So, why did I choose this particular unit over the thousands of different pieces of kit out there in the market? Well, first it incorporates both functions of solar charger and mains inverter into one, second it’s also an MPPT charger, third you can parallel up to 6 units to handle up to 18KW of panels and give out 24KW of lovely mains power. This is more than many houses will get from their national mains grid. 

Why do I need so much power? Well, my abiding principle is to have everything electric… Heating, cooling, cooking, hot water, the lot. I’ll have a bit to say in other posts about each of those elements as I develop the hardware to handle them

I guess that I’d better explain a few of those terms that I mentioned just now:-

MPPT 

This stands for Maximum Power Point Tracking. What it means is that the solar charger will extract the most power that it can out of your panels and dump it into your batteries. In full sunlight, there’s not a lot of difference, from standard chargers, but as light levels drop towards dark or on cloudy days, you’ll  get more power out of MPPT than other systems. In a nutshell, it briefly disconnects your panels from the batteries to allow the panel voltage to float to a higher voltage than the batteries and stores that power in a bank of capacitors. Then when there’s enough to be usable, it dumps it into the batteries and then starts again. 

Other versions of MPPT use circuits called buck converters to give a higher, more usable voltage than would otherwise be available in low light levels leading to an even more efficient extraction of the energy from the available sunlight. 

Pure Sine Inverter  

Mains Powe is alternating current, AC, whereas solar panels and batteries give out direct current, DC. Mains inverters convert the DC from the battery/panel combination so that you can power your mains gadgets like televisions and essentials like dishwashers. The AC from the power company is generated by huge alternators which are generally driven by steam turbines. As the alternators rotate, the output voltage rises and falls smoothly, generally 50 times per second in Europe (50 Hertz or 50 Hz) and 60 Hz in the USA and Canada.

The smooth rise and fall is vital to many types of motor, especially those in refrigerators, air-conditioning units and the like. 

So, mains inverters come in two flavours. There are the cheaper, digital, ones where the voltage output, for reasons of economy, are generated by a digital circuit. Digital stuff normally isn’t very good at smooth transitions and prefers small steps or jumps. 

The more expensive inverter gives out a smooth voltage change or pure sine as the output exactly mimics the output of a rotating alternator. This is better, but generally more expensive, than the digital version. On the other hand if your fridge or aircon doesn’t work, then that could be even more pricey. 

As our new house is to be built in a hot climate and we really need good aircon, theres no choice. Hence, the PIP4048MS. 

The Great Plan

We first saw our new land in Spain last June 2016  and committed to buy in August. The sale was finally completed just before Christmas 2016.

The reason for the gap was due to our cautious nature when acquiring property. First, we we needed to check for clean title (the escritura or deeds) to ensure that the people selling us the land actually owned it and that there aren’t any outstanding loans, mortgages or guarantees against it. Then we wanted written confirmation  from the local council that we had a licencia or permit to live in on the land. As there had been a house there for a couple of hundred years with a proper set of deeds that was straightforward, but worth doing. Spain is notorious for this sort of thing as many people have found out to their cost. 

Then we wanted a permit to connect to the local water cisterna, drill a bore hole and build a swimming pool. 

We also ensured that there was a tax value and registration for the existing house. 

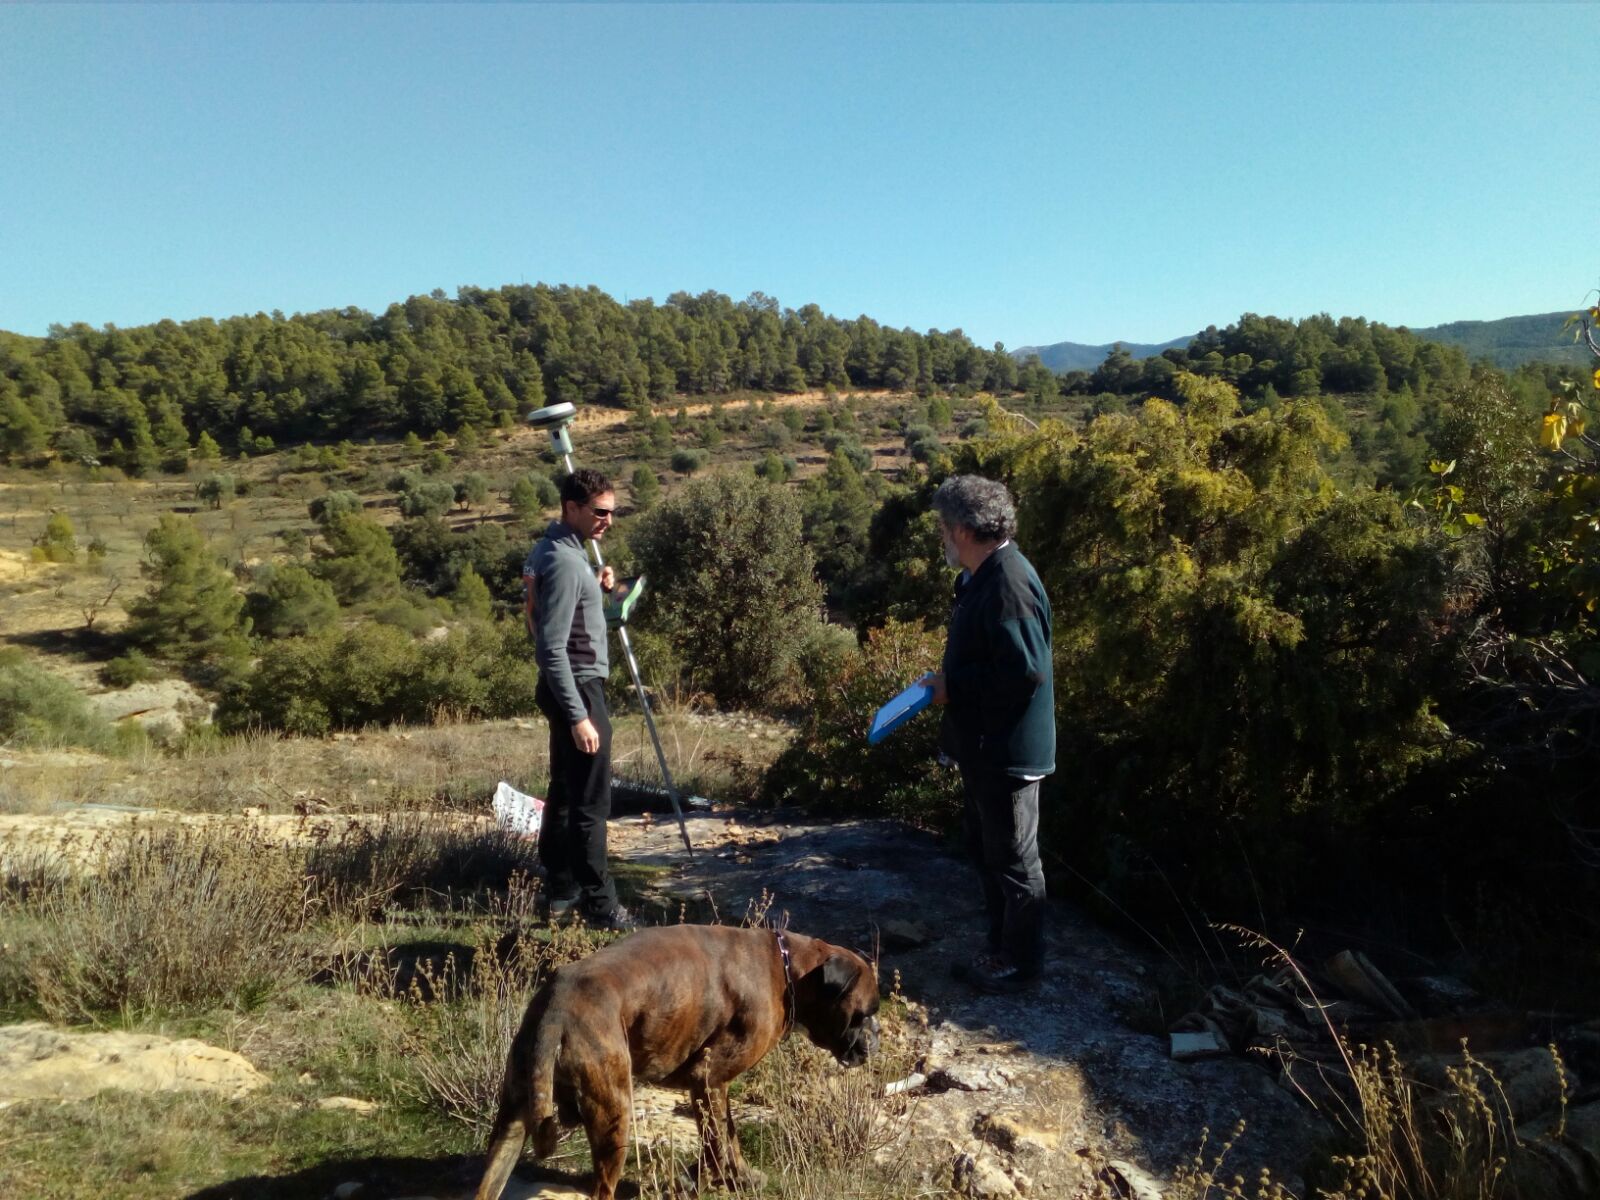
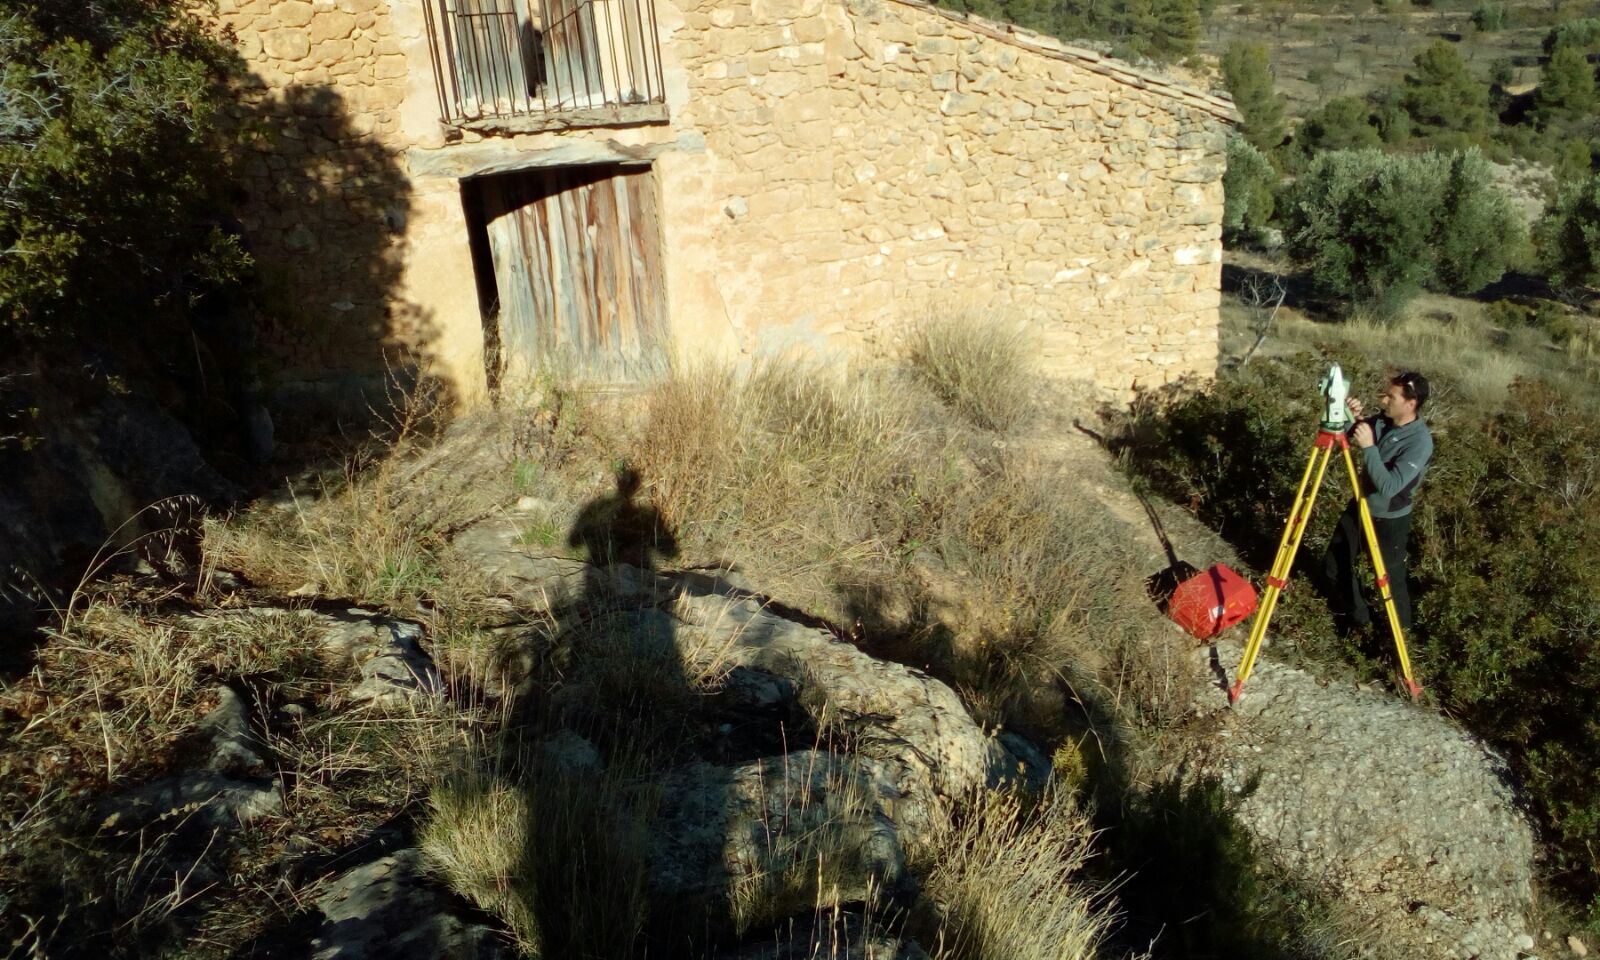
Finally, we commissioned a full survey of the ruined house and a levels survey of the immediate land around it to help with planning the new house and to be attached to the deeds to ensure that there was a record of the existing property on file. 

Levels Surveying

Levels Surveying

Signing the sales contract and handing over the money

Signing the sales contract and handing over the money

Last but not least, NIEs needed to be obtained from the police station in Alcaniz. This an ID number for foreigners which you need for everything in Spain. 

Once all of the above were in place, the sale went ahead. We are the ones with the big smiles on our faces on the left. 

The next stage was to demolish the old house and sort all of the materials ready for the new build. Just to be on the safe side, we went to the excellent local mayor in Rafales and obtained a license to demolish. I think that this was a really useful 60 euros to spend!

So, the timetable is as follows :-

  1. February. Demolish old house
  2. March. Draw up and submit plans for a garage /workshop, solar system and septic tank
  3. End of April. Submit plans for Main house
  4. March to July. Build up solar system in the UK to take to Spain 
  5. June /July. Build garage/workshop , septic tank and concrete base for solar panels
  6. Late July. Install solar power system
  7. August. Helen, Aidan, 6 chihuahuas and 2 Irish wolfhounds arrive for two months, living in the workshop! 
  8. Late September. Start house build. 

    Well, numbers 1 & 2 are done. So far, so good. The first draft of the main house plans are done

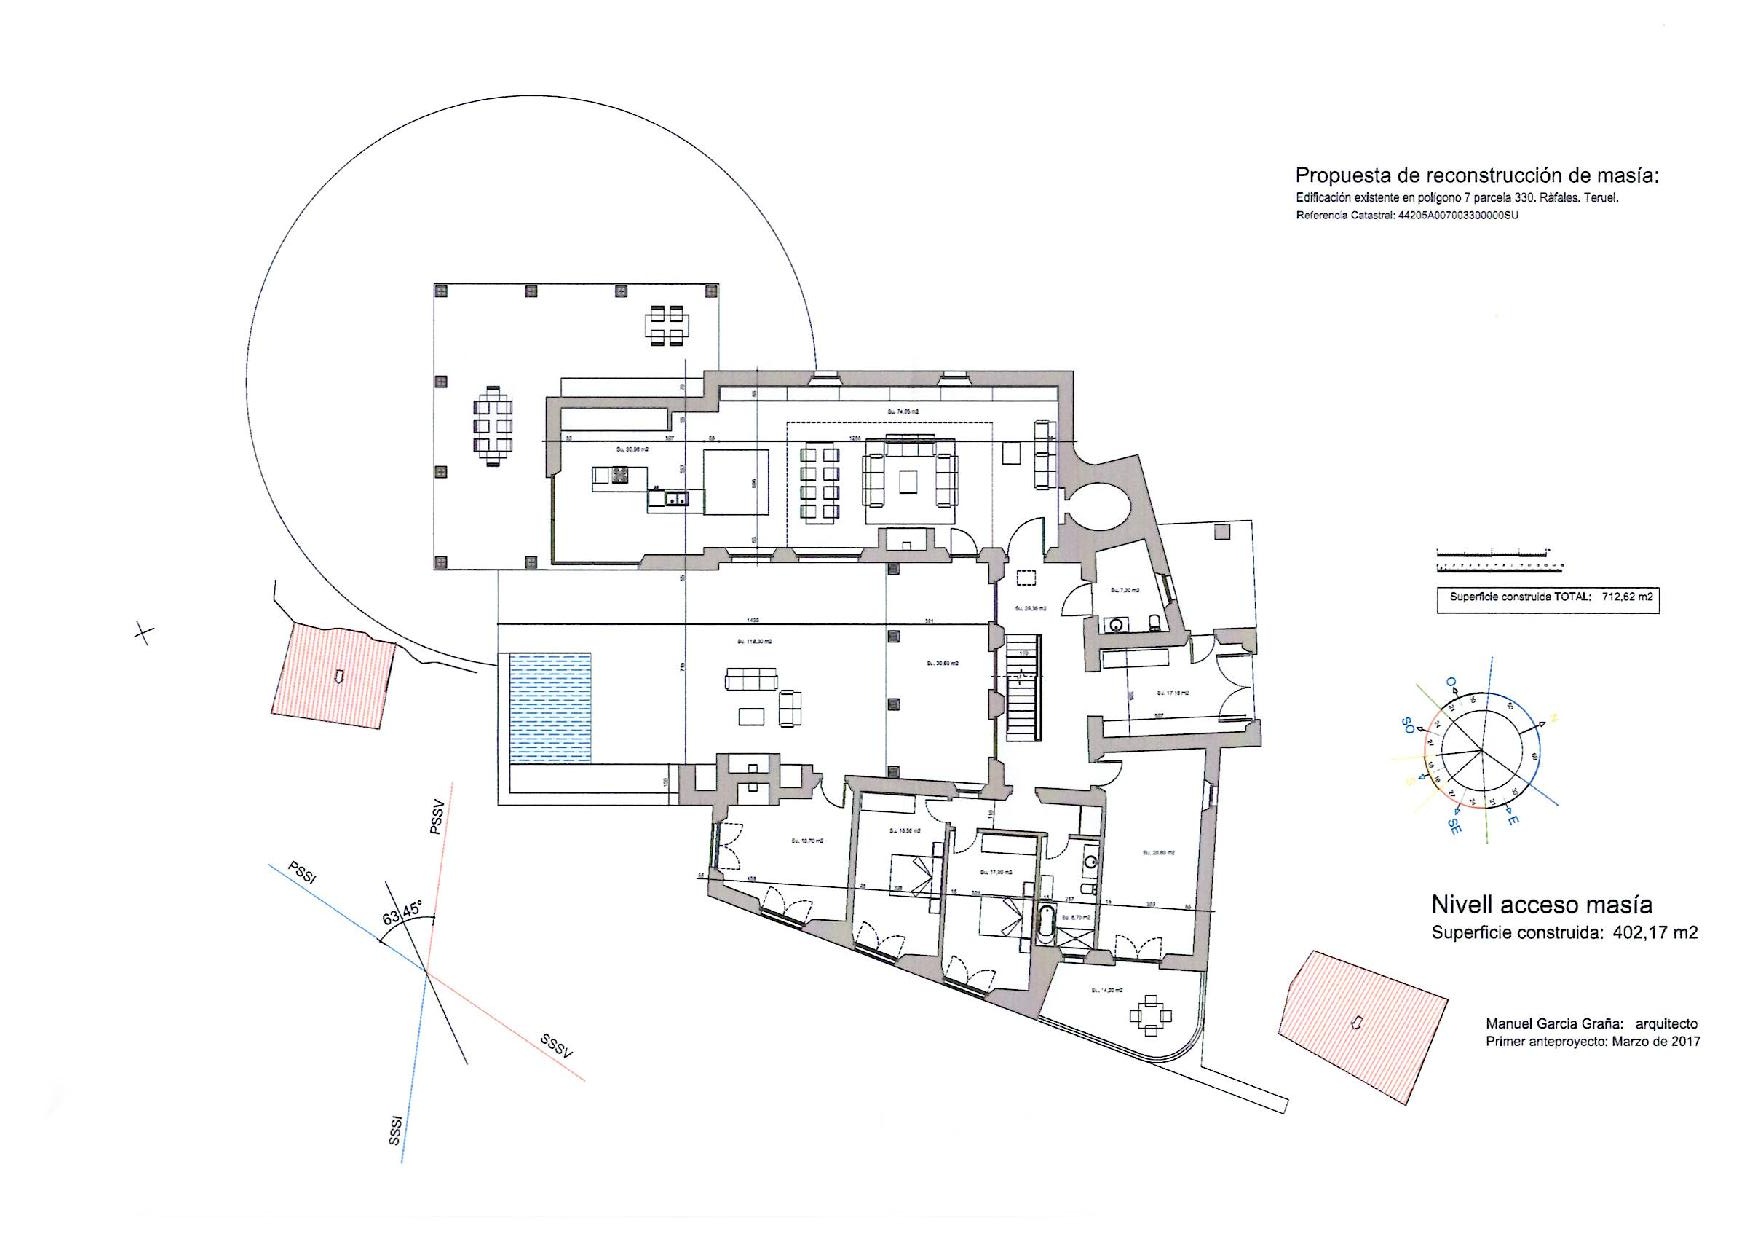
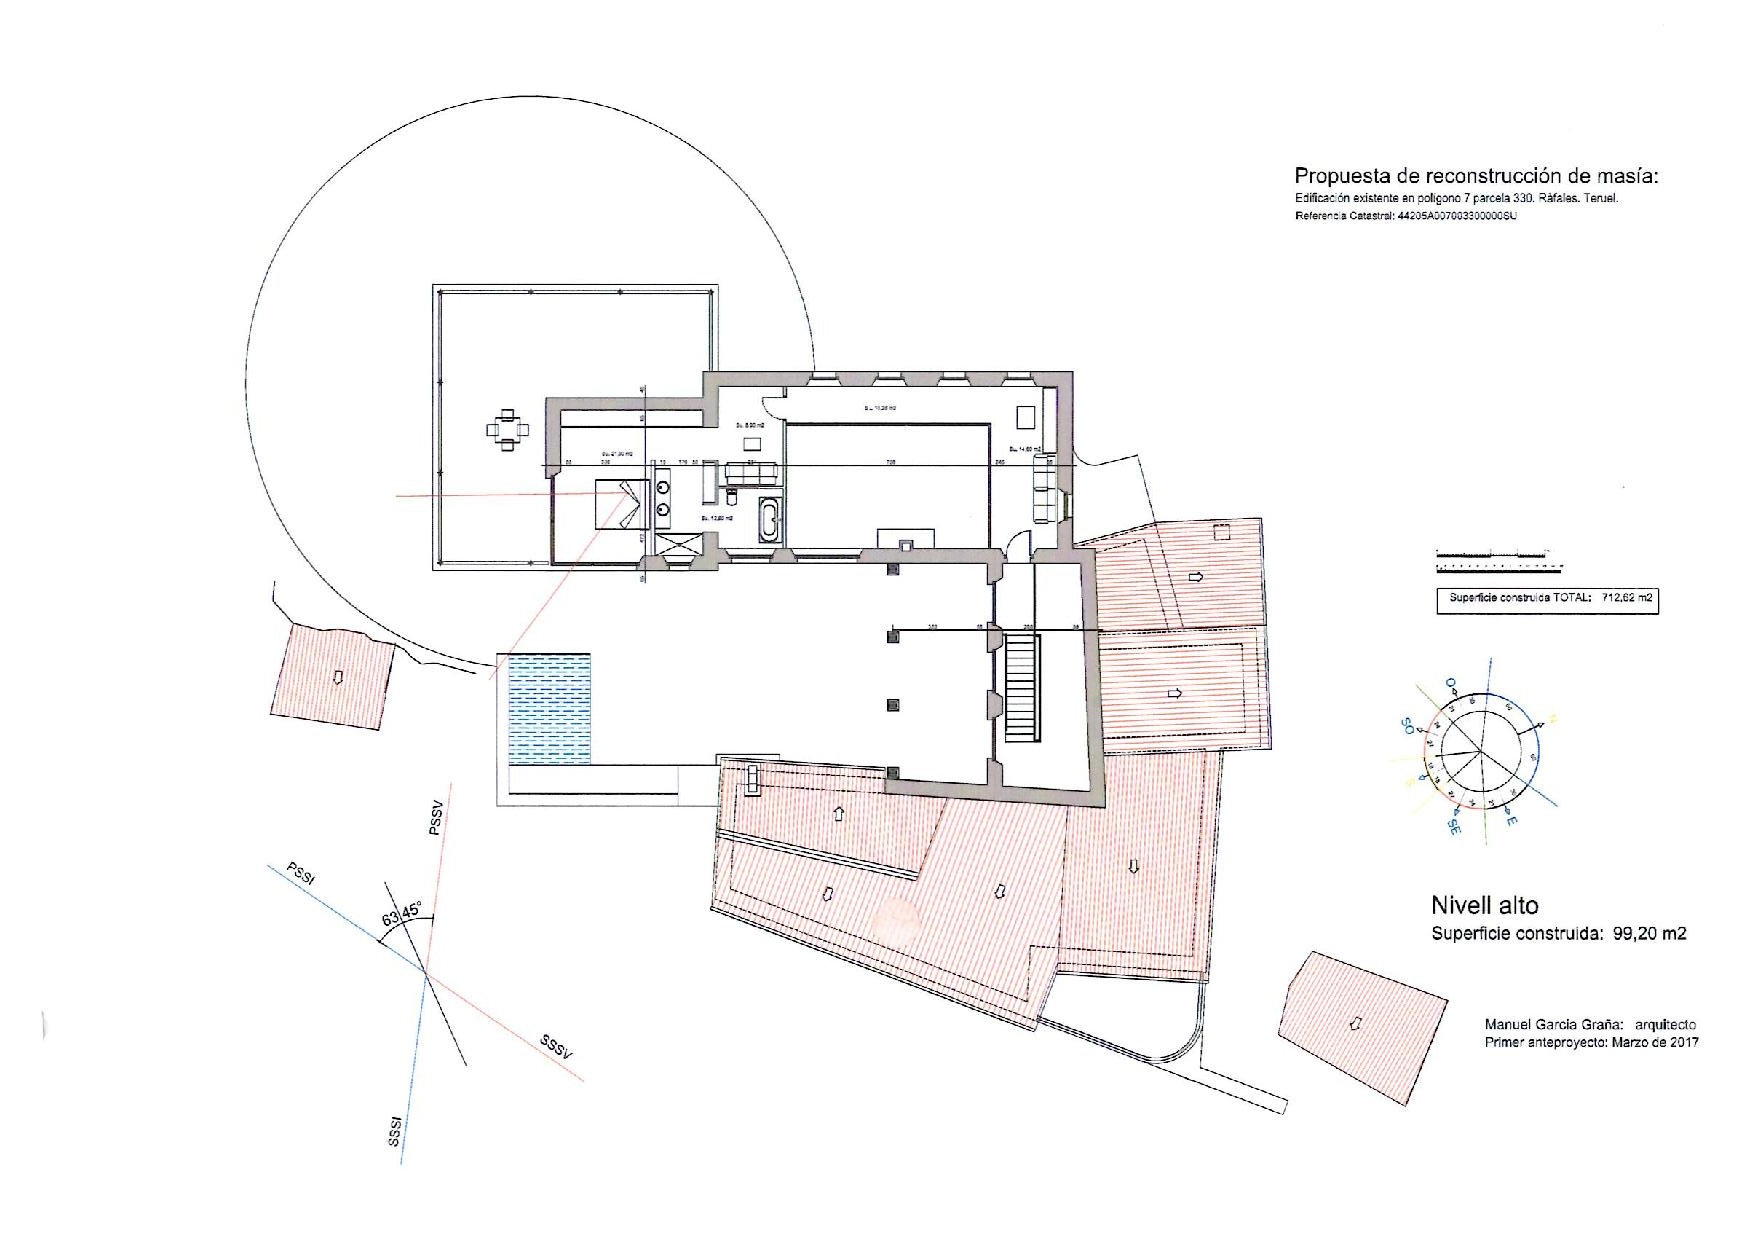
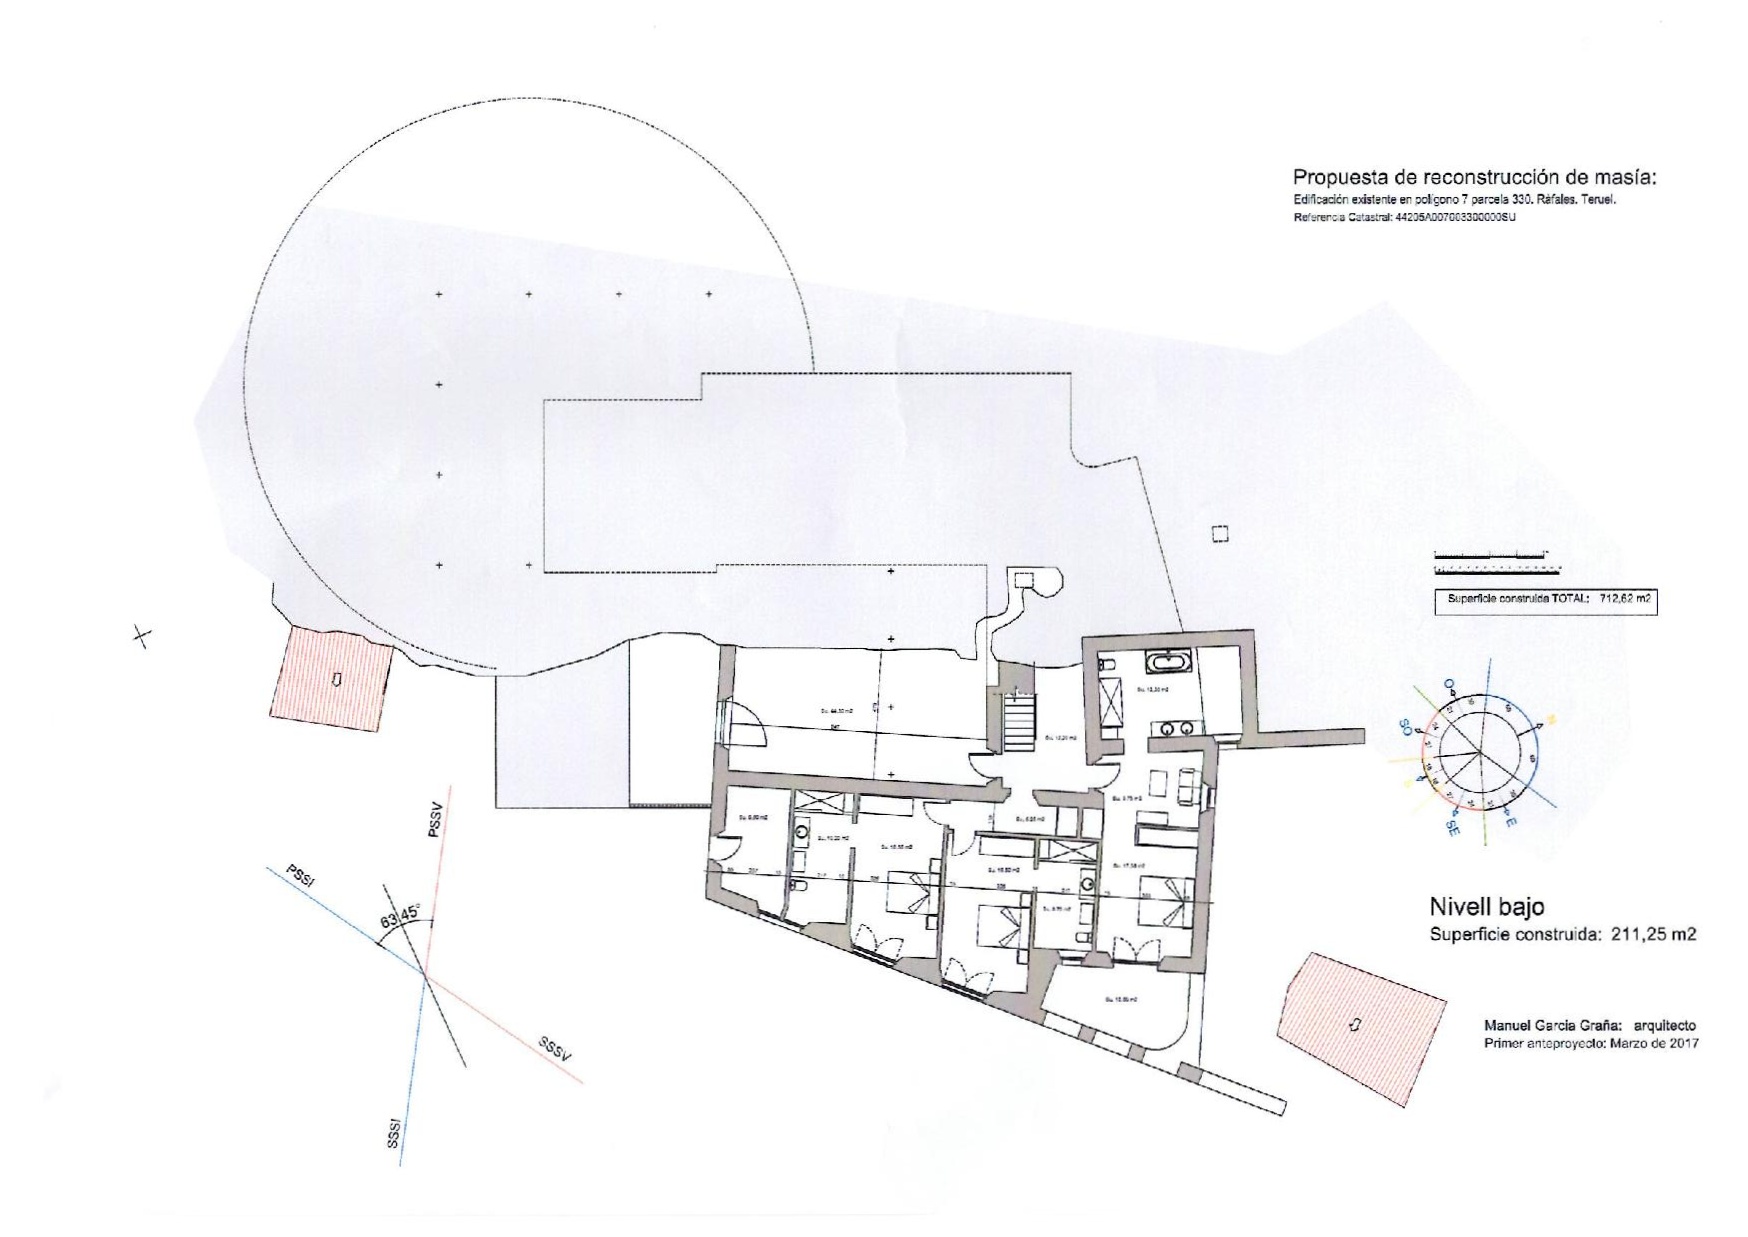
    So, here is the first draft of the house:-

    Access Level

    Access Level

    This level has the main front door, the lounge, kitchen, dining area, my office, a family suite for if we have visitors with young children  and the courtyard with a plunge pool. 

    The upper level has our bedroom with a gallery above the main living room to access it, plus a sun terrace off ourbedroom

    Top Floor

    Top Floor

    Finally, the lower level has three more guest bedrooms plus a large  but essential, wine cellar

    Lower level

    Lower level

    To make sense of the plans, you need to realise that the house is built over the edge of the terrain, following the footprint of the original building

    Solar Panel Adjustment 

    Why Adjust? 

    The apparent position of the sun varies throughout the year and throughout the day. Solar panels can be left at the same angle all year round in the worst case. It’s possible, but costly to track the sun across the sky and alter the angle of the panels to get most bang for your solar buck, but it’s generally good enough just to position the panels in a southerly direction and then if possible adjust the elevation – i. e.  angle them up and down – as the sun rises and falls in the sky. 

    Panel Angle

    In the winter, an angle of about 60 degrees from the horizontal will give you most power and around 40 degrees in the August.  In the summer, the sun is virtually overhead, so if your panels are nearly vertical in a winter position, they’ll produce power just not as much as they are capable of. I’ve got an electric car (Tesla) which takes 90KW hours to charge. So, if I use 1KW for 90 hours which is like boiling a kettle solidly for nearly four days and nights or more practically, 5KW during the day, if I don’t adjust the panel angles I’ll eat well into our power budget. I’ll only charge the car during the day when there’s excess power after air on, cooking, pool pump, etc. 

    I want to glean the maximum power for the lowest cost, so  I’m repurposing some linear actuators which are generally used to adjust the backrest on a bed or on a sofa. I’ve found some units that are IP65 rated which means that they’re  weatherproof… why they should be waterproof is beyond me but for around £40 from Ebay, I’m not complaining. 

    These actuators can lift 150Kg each, so are very meaty.  The solar charger/inverters that I’m using are from Mppsolar (PIP4048MS) and require at least 48V to work. However, they can use up to 130V in theory. I’m hooking three 24 volt panels in series giving me between 72 and 90 volts, which will help give us some power even when it’s not that sunny as there’ll be sufficient voltage to put some power into the batteries. 

    I plan on making some simple frames to take 9 panels each as this seems to be the optimum for my plans. The panels weigh about 18Kg each, so with the steel frames it should all come in at under 200Kg. I’m going to hinge the bottom of the frames so that I can use two actuator arms to push or pull the panels to the correct angle. 

    Aha, I hear you ask. But how do you know what angle to set them to? Well, there is a website called Suncalc.org and if you upload your GPS coordinates or lattitude and longitude, you can download the angle of the sun above the horizon at every minute of the day and set the panel angle accordingly. So long as the planet keeps spinning on its axis and revolving around the sun, it should work. If it doesn’t then we’re all doomed anyway and inefficient solar panels will be the least of our problems! 

    I’m never keen on moving parts as they do tend to break, so I’ve ordered some laser distance measurement devices (guess where from?)  for a couple of quid each to see if I can use a bit of clever maths to determine the panel angle from their distance from the sensors. These little cuties are used in robot vacuum cleaners, so are available  in large volumes very inexpensively. 

    It did occur to me that if two powerful actuators are moving a panel and one fails, then the whole thing could be twisted and broken. So, I’m going to also use the laser sensors to make sure that both panels are moving correctly and if there’s a failure, I’ll get an email telling me which one has failed. Seemples. 

    Demolition Day! 

    Back in February, we started on pulling down the old house. We’ve made a realistic schedule that we’re pushing the subcontractors to maintain . Helen won’t let me manage the build or get my hands too dirty on this project, but I can still crack the whip!

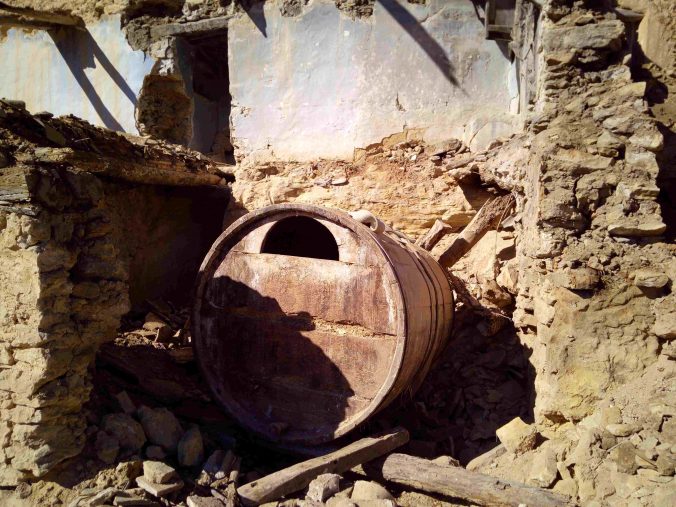
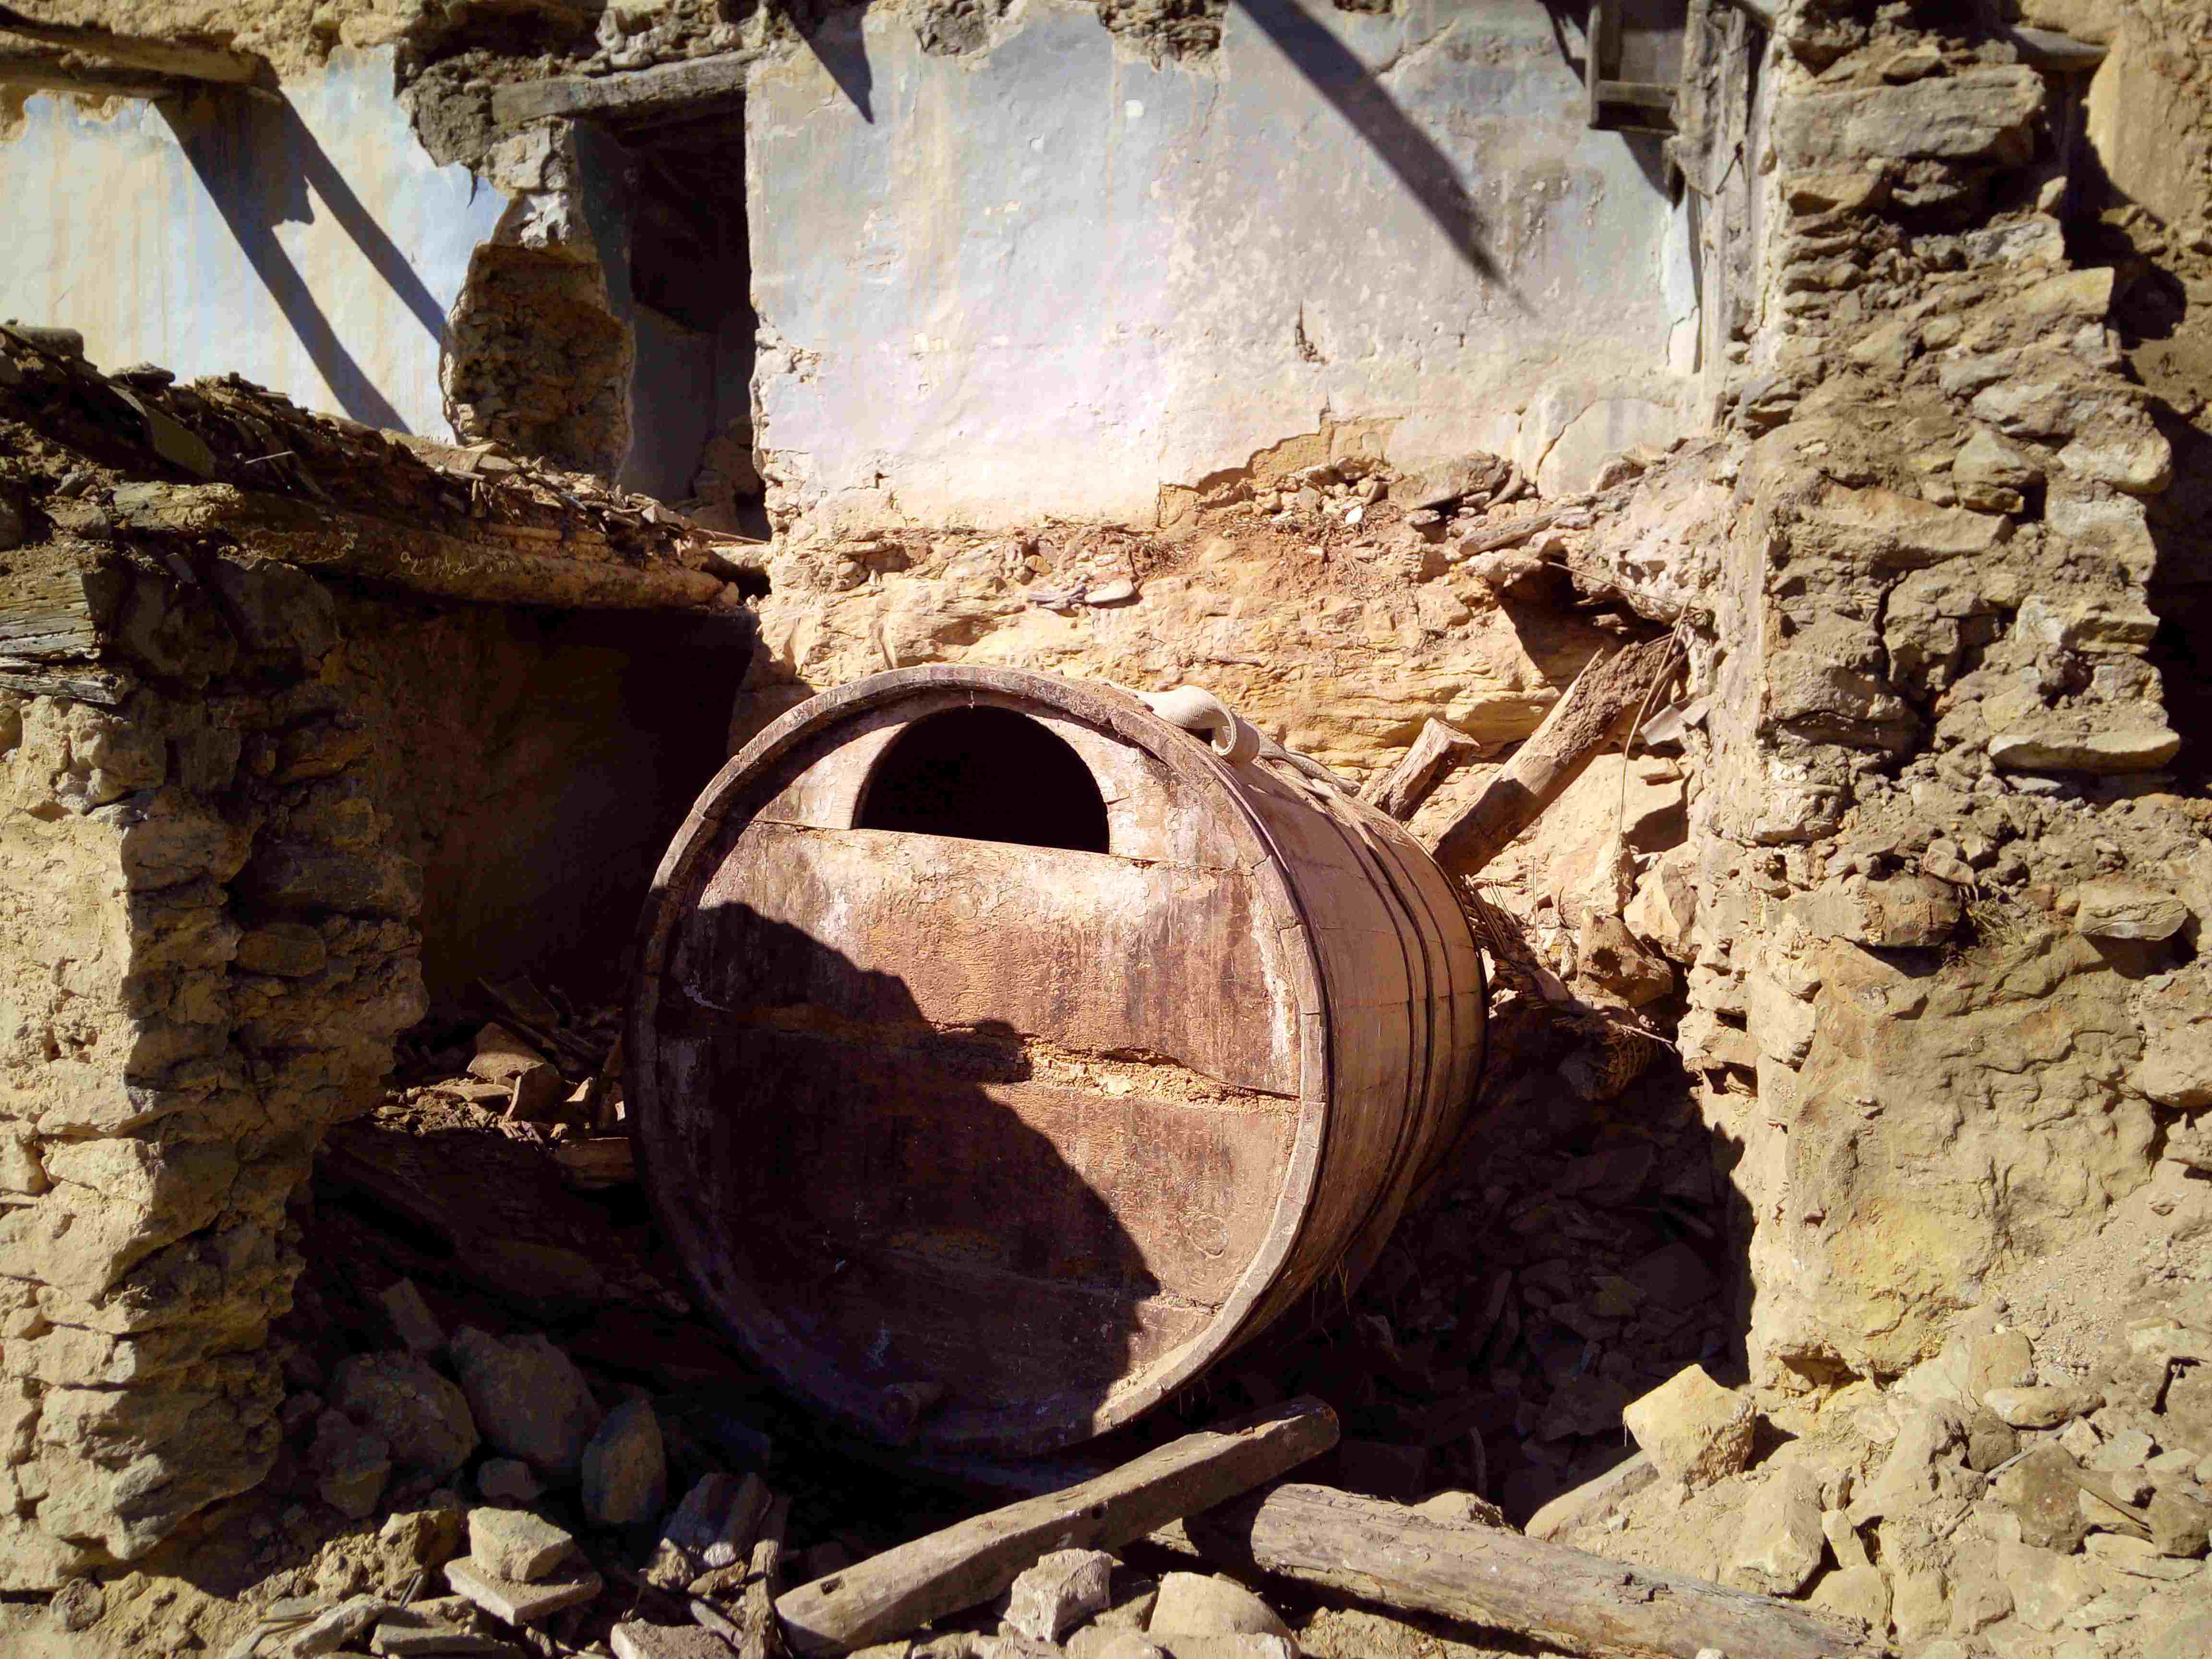
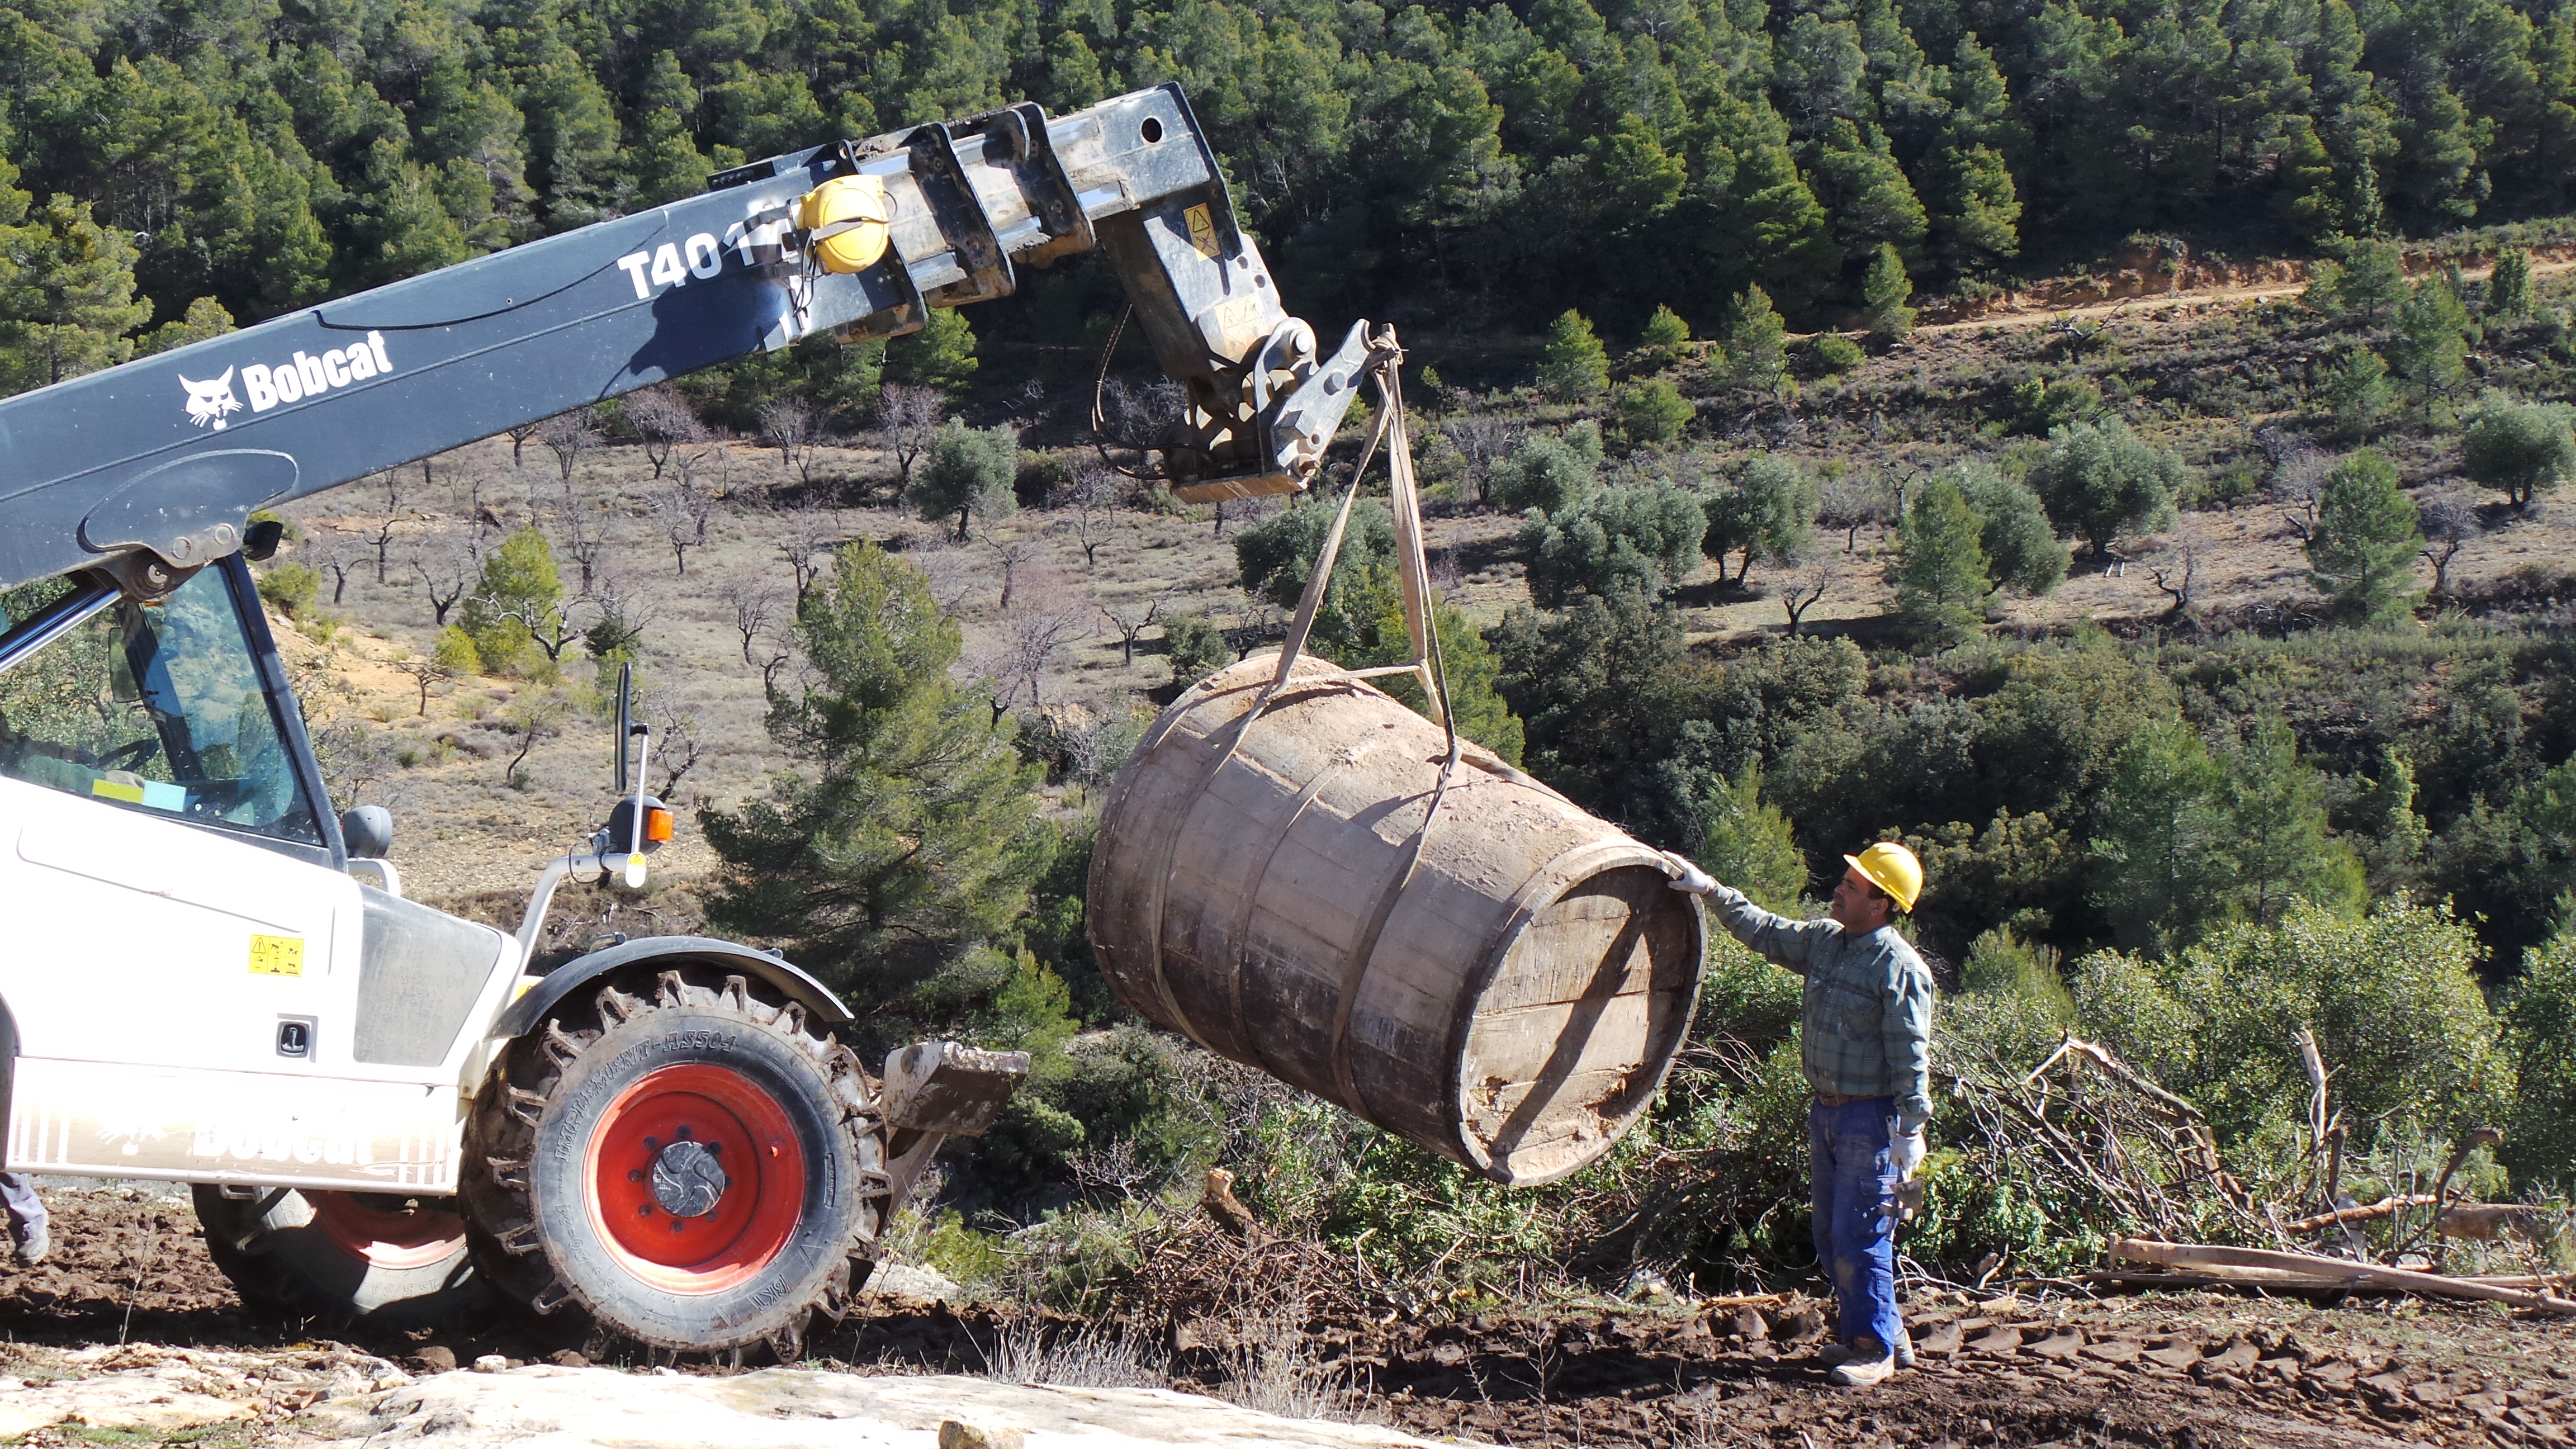
    We had glimpsed a huge wine barrel in the cellar,  but the only way to get it out was to dig. This must have been installed before the house was built, so is at least a couple of hundred years old. Clearly, this is not going on a bonfire, but will instead form the centre piece of a large wine cellar. Obviously. 

    Huge Wine Barrel

    Huge Wine Barrel

    The guy doing the demolition is Fernando Cros, one of the two brothers that sold us the land. Fortunately he’s also a builder. 

    We’ve also considered using the barrel as a hot tub as it’s easily big enough, but I do fancy making it into some kind of holder for wine bottles. 

    We’ve managed to save hundreds of tiles which will form the roof of the new garage, which we’re going to build first. This’ll give us plenty of storage for tools and materials and is going to have a small mezzanine with a bed so that we’ve got somewhere to stay on site. I’ve also found on Ebay a great, self contained, reversible  air conditioning unit so that we can use to cool the garage if needed. 

    Roof Tiles Being Removed

    Roof Tiles Being Removed

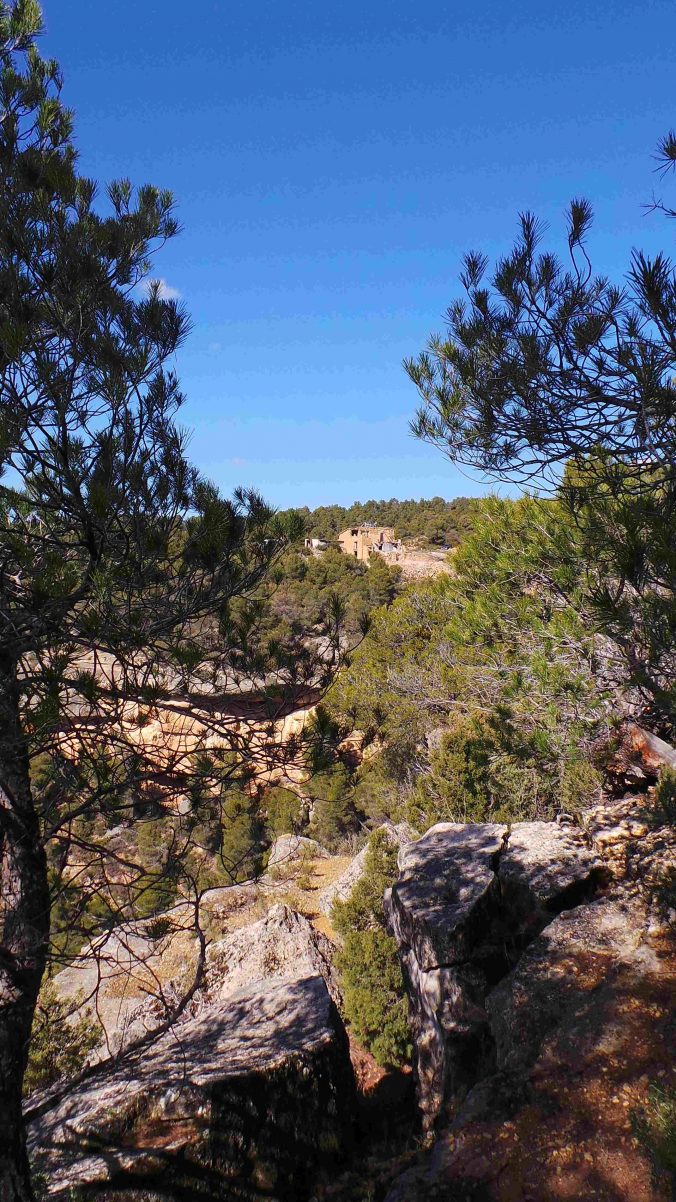
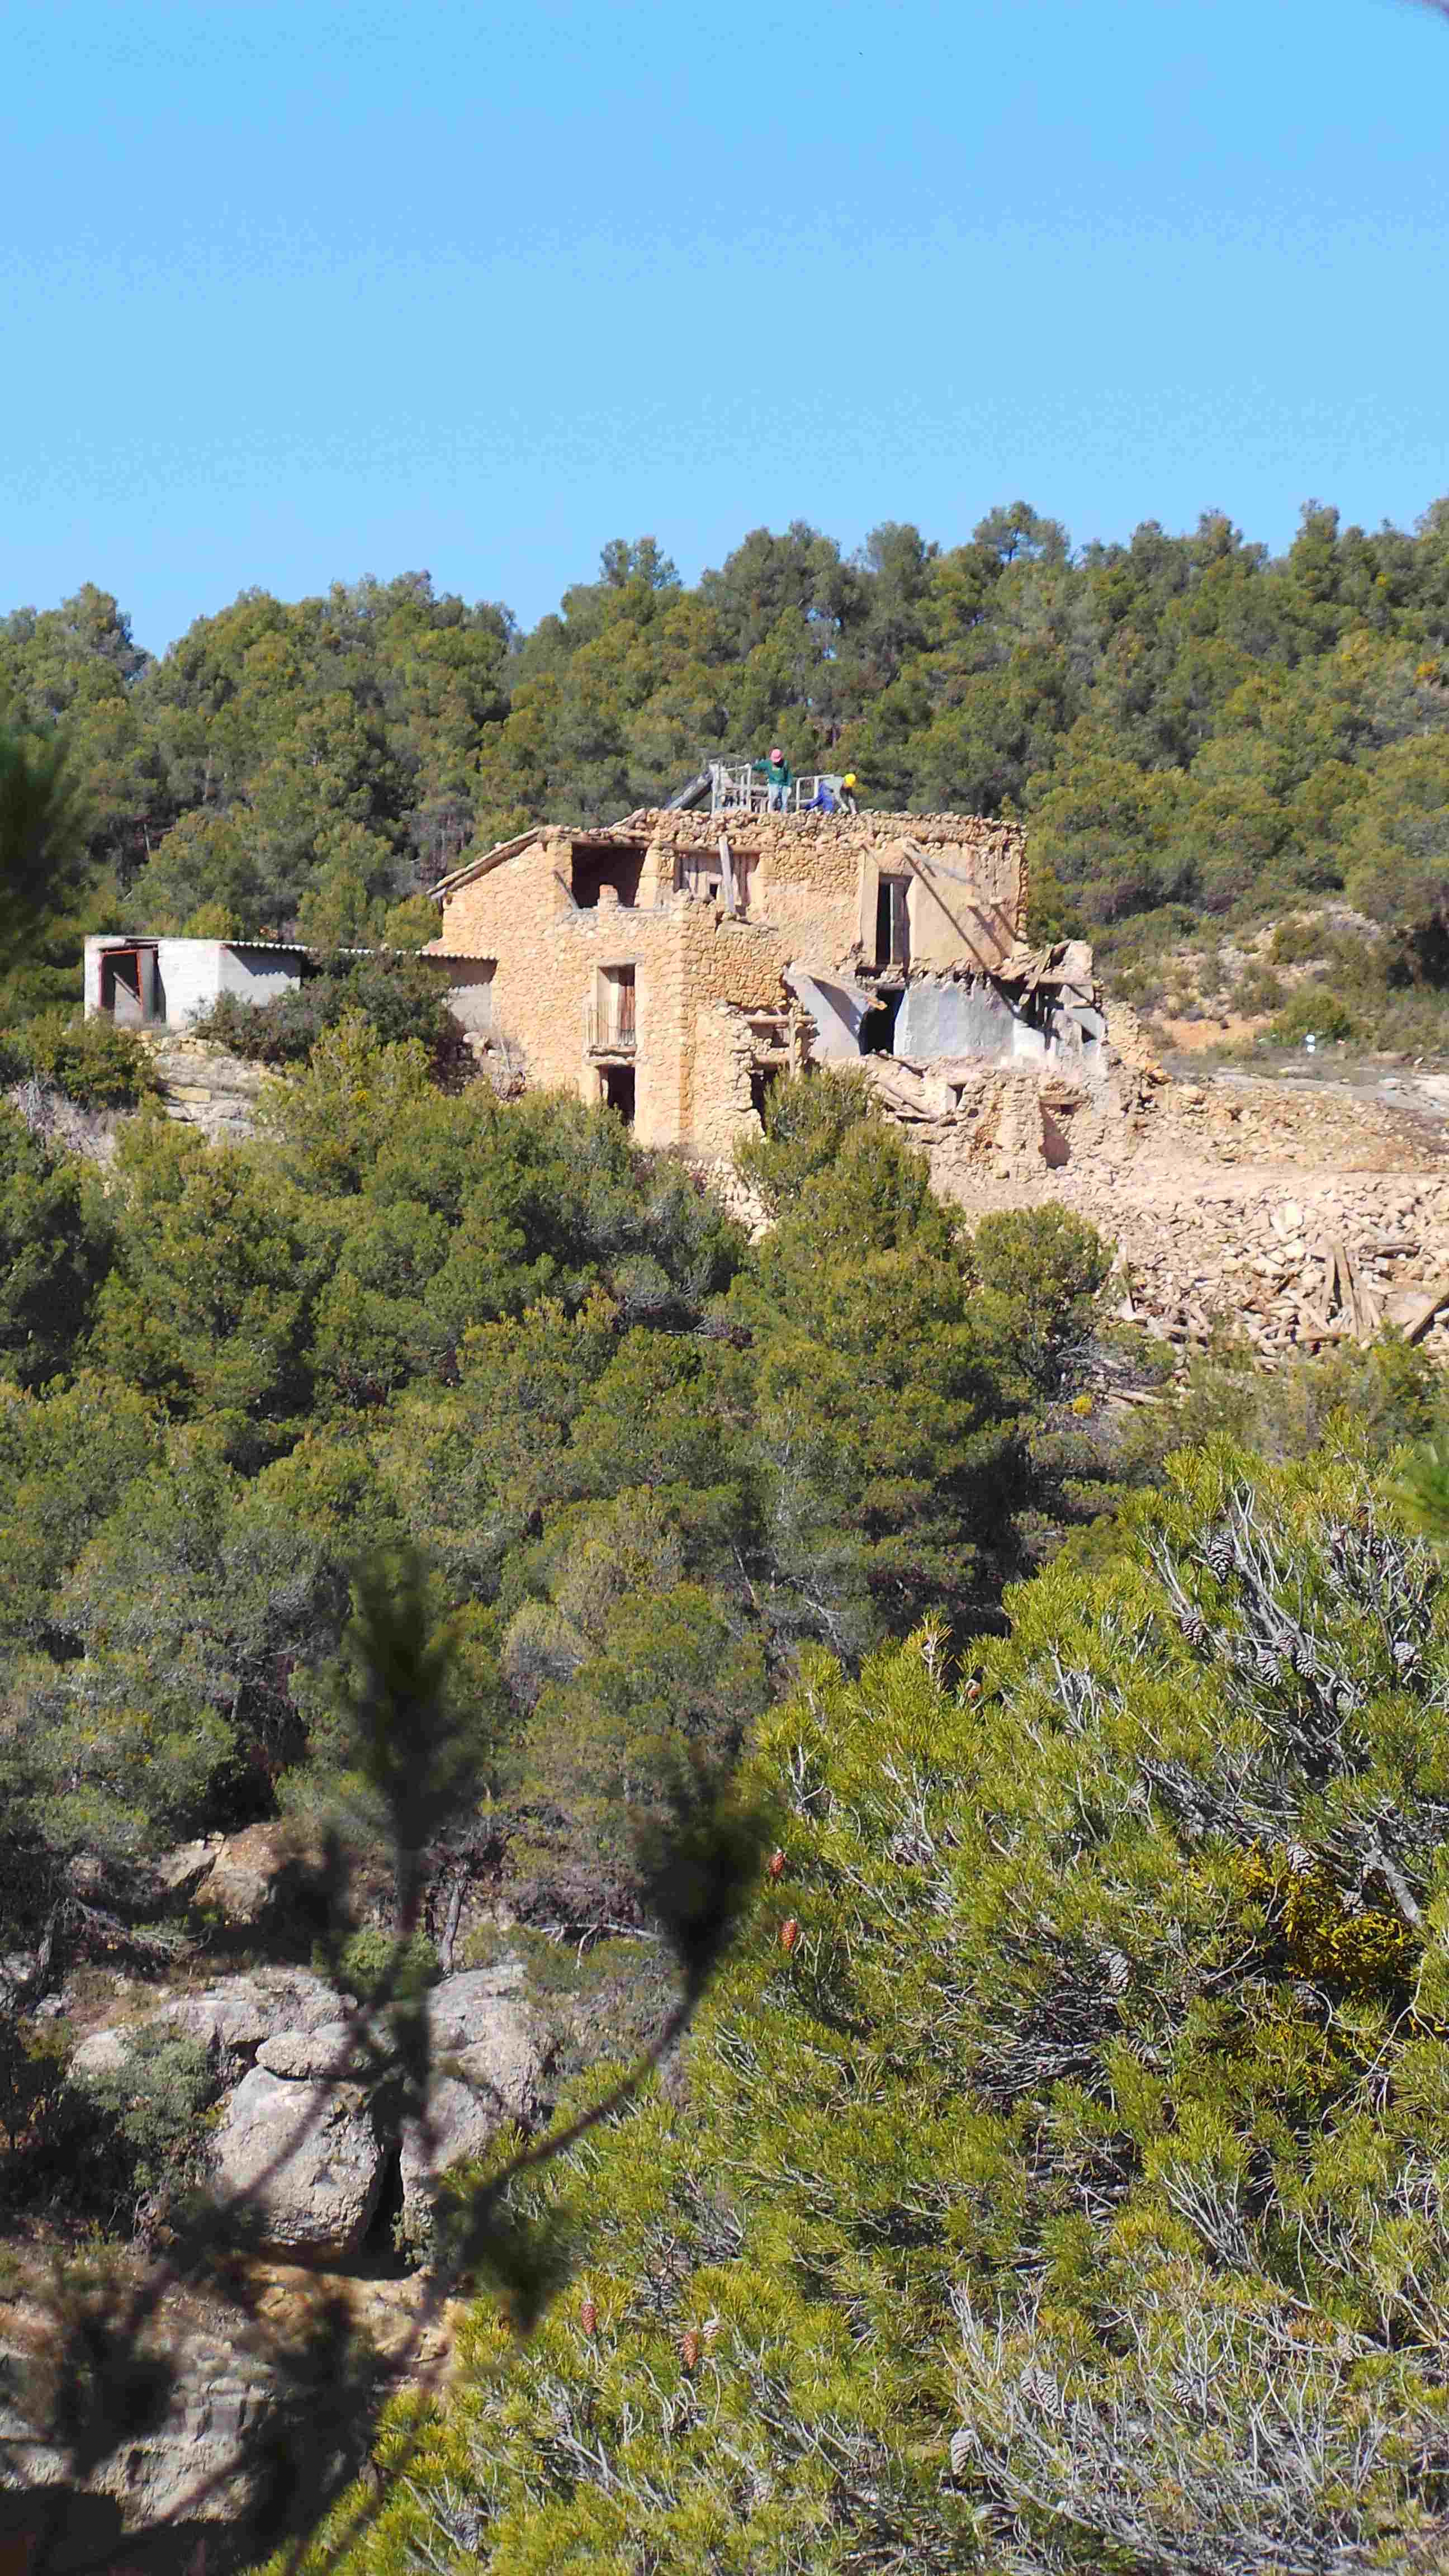
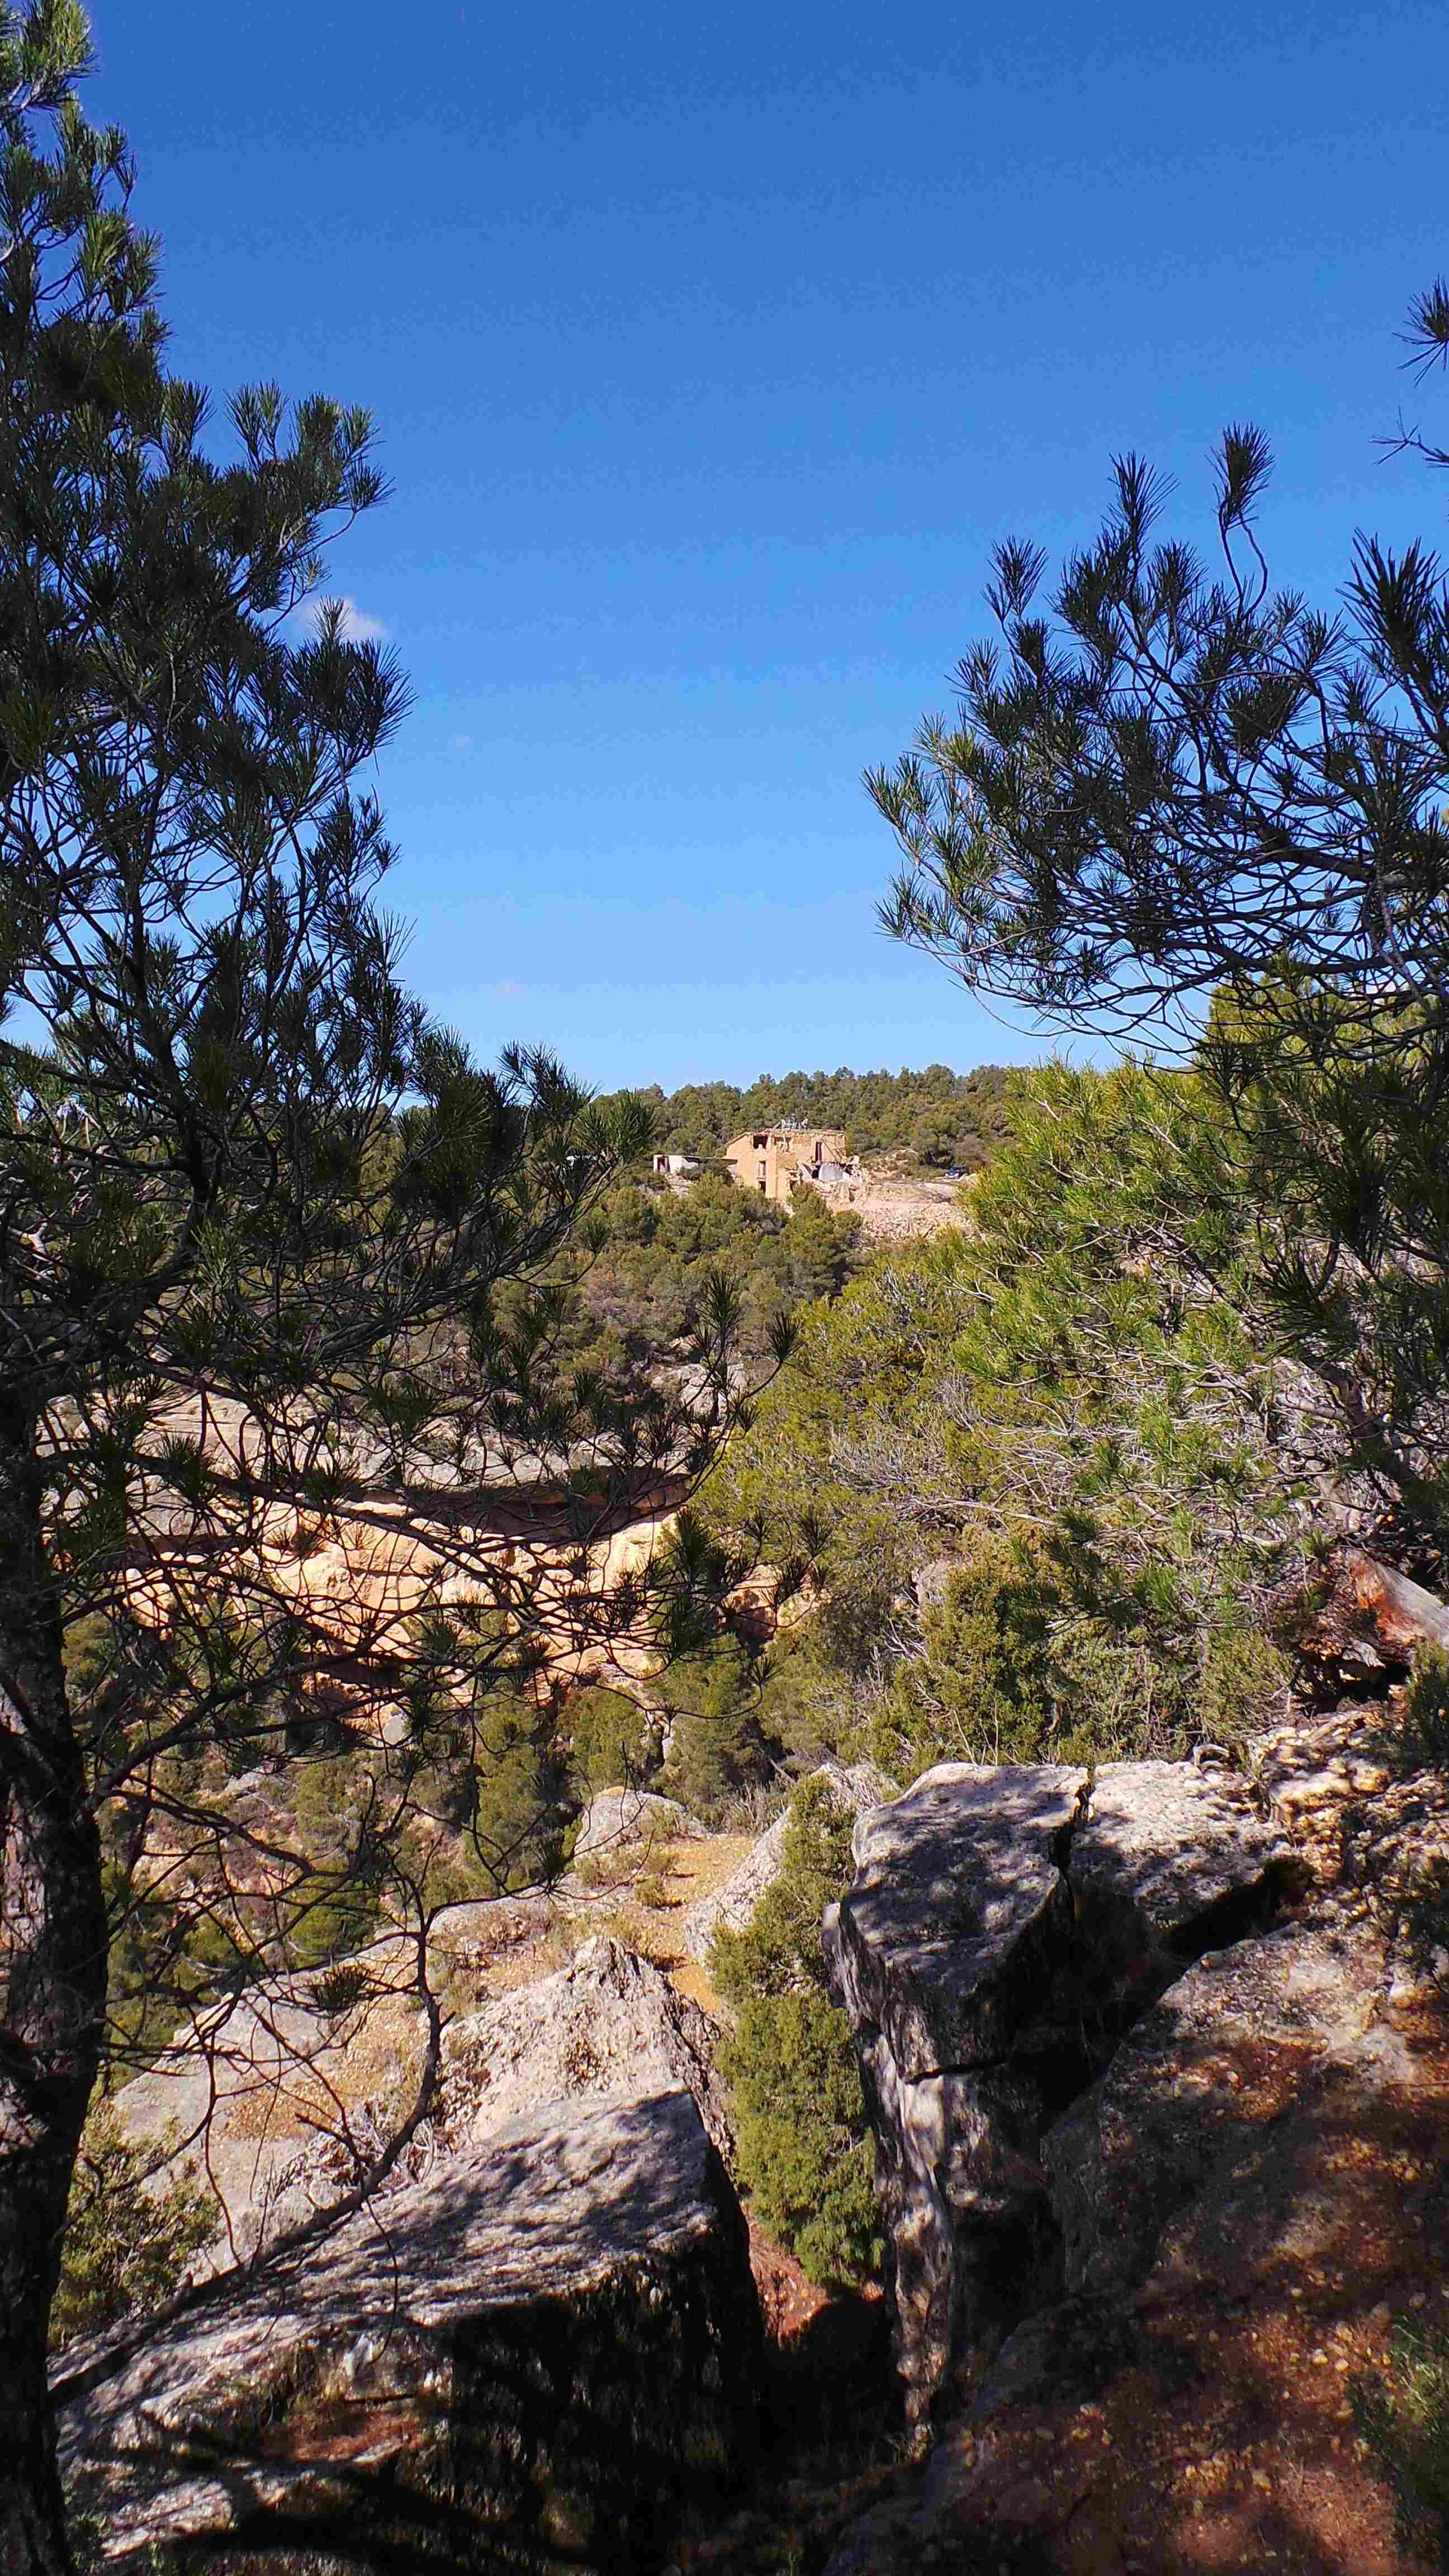
    View from across the valley

    View from across the valley

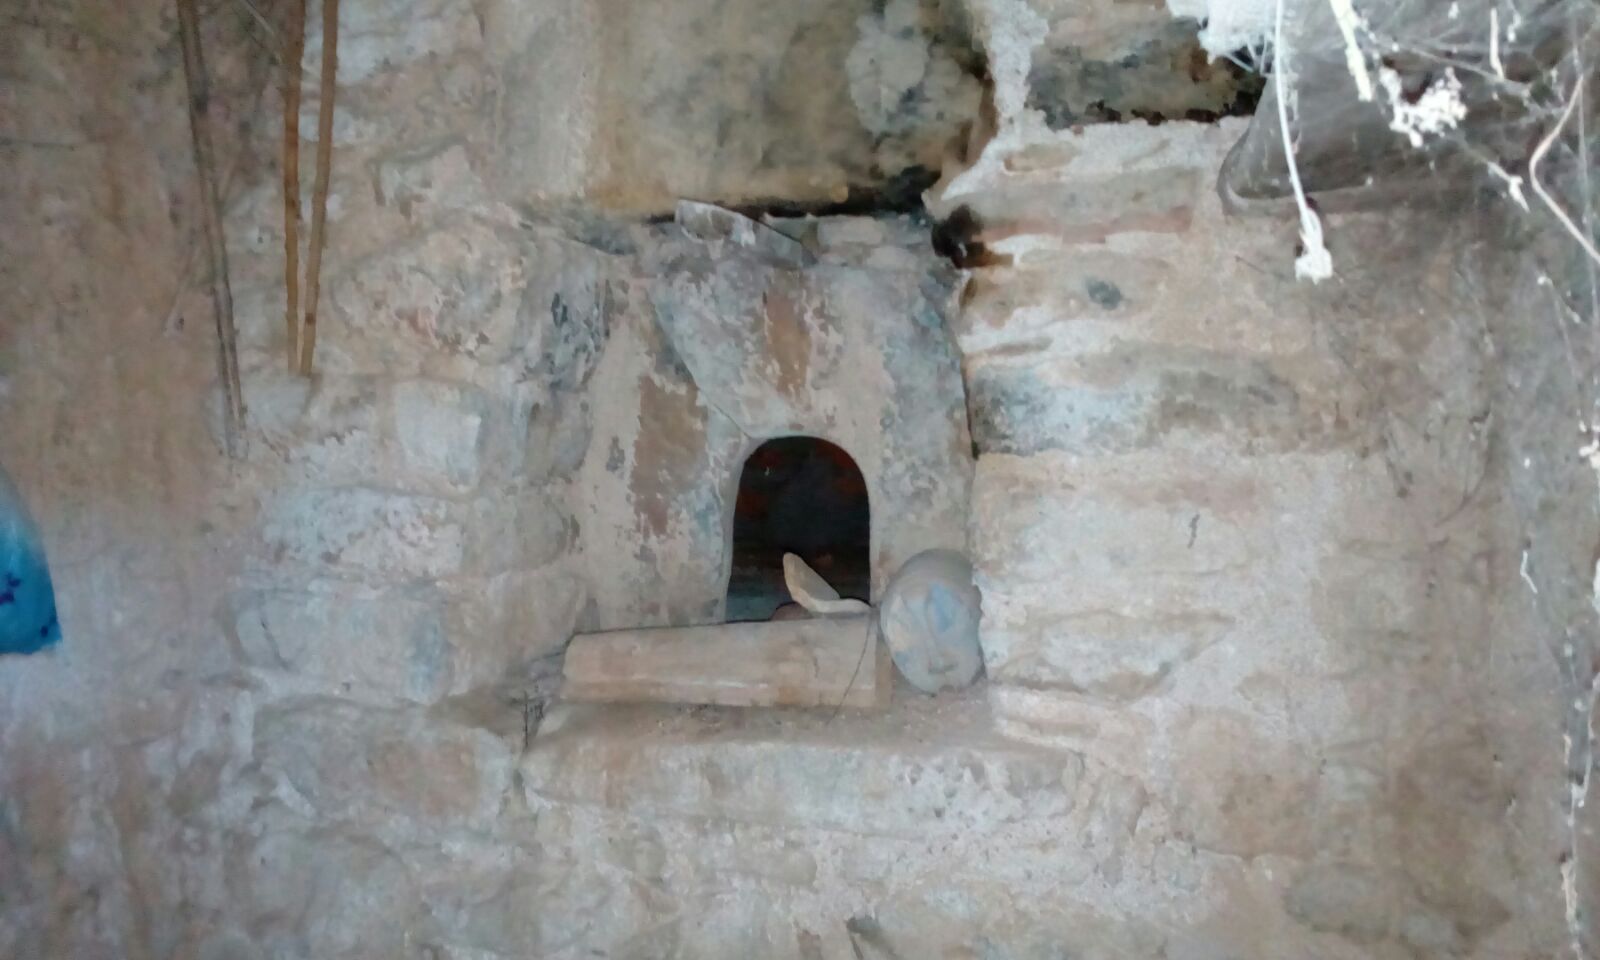
    We also found an old bread oven which is a bit ramshackle but which is going to be built into the wall of our new kitchen

    Bread Oven

    Bread Oven

    Newer posts »

    © 2024 Off Grid In Spain

    Theme by Anders NorénUp ↑